


Getting Started: The first round
First of all, I must stress that getting the first round of picture yarn in place is key to success. If the first round is wonky, the picture will only get exponentially worse on subsequent rounds. The above diagrams (with ribbing omitted) show a wrong, then right example of this.
- Notice the 1st picture shows the beginnings of ghosties that are not evenly spaced. There is no way the next round will line up properly in this scenario.
- The second picture shows nice, evenly spaced ghosties.....in this case starting after 4 stitches into each of the found needles. It doesn't matter where your ghosties start on each needle. They could be 2 stitches in, 8 stitches in, etc. What matters is that they each fall on the same place on each needle.
- Once you get that first round into place, the second round will follow:
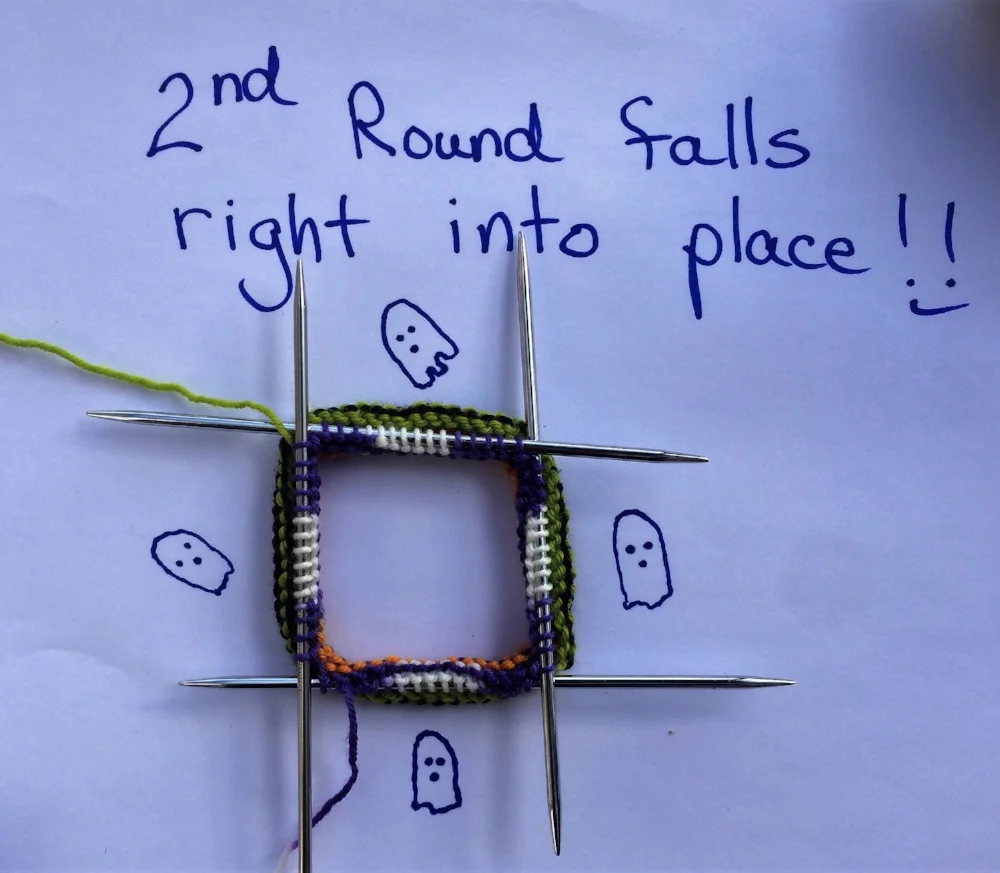
This example uses the ghostie yarn, but the concept is the same with all picture yarns.
See 4th photo: Watch that eye placement! Remember, the picture shows the backside of the work. It will look better from the front.
You may need to tighten up or loosen up a little to work those ghosties into place
Remember: YOU ARE THE BOSS!